
Intro from Jessica:
Keith does amazing work on instruments, so when it’s time for my piccolo’s annual COA, there’s nobody else I’d take it to. Still, for me, it’s an anxiety inducing event, because I only own one picc right now and I gig quite a lot—so it means I’m coordinating Keith’s schedule with my own performing schedule and figuring out when I can be without it for a couple of weeks. I loved seeing all these pics of my instrument in pieces and in the process of being cleaned! Spoiler: when I got it back, it played better than when it was new! It’s so easy to put this sort of thing off, because problems come on so gradually that we don’t necessarily notice until the issues are acute and unavoidable. So with both my flute and picc, I just bite the bullet and add it to the budget each year. When you get your perfect instrument back, it’s worth every penny!
Pieces and Parts – A Piccolo COA
We all get nervous when our instrument starts acting up, especially when we have gigs coming up. Having regular service prevents the issues before they rear their ugly head. As they say, an ounce of prevention is worth a pound of cure. I wrote this article while our very own Jessica’s piccolo was on my bench. These are actual photos of a piccolo COA, DO NOT TRY THIS AT HOME!
When I go to schedule an appointment for a customer, I work closely with them to make sure that the entire process is as easy for them as possible and I do my best to ease their concerns. Shipping an instrument is usually the first concern most customers voice. It is important to talk to your technician about what they recommend for packaging and their preferred or most reliable shipping agent. Trust your tech, because they do this all the time and can really guide you through the process!
Once the instrument arrives, I assess the condition of the instrument and get a general idea as to what it may need out of the gate. I look for obvious issues, torn pads, adjustment issues or bent keys, anything out of the ordinary that is blatantly obvious before I begin disassembly.
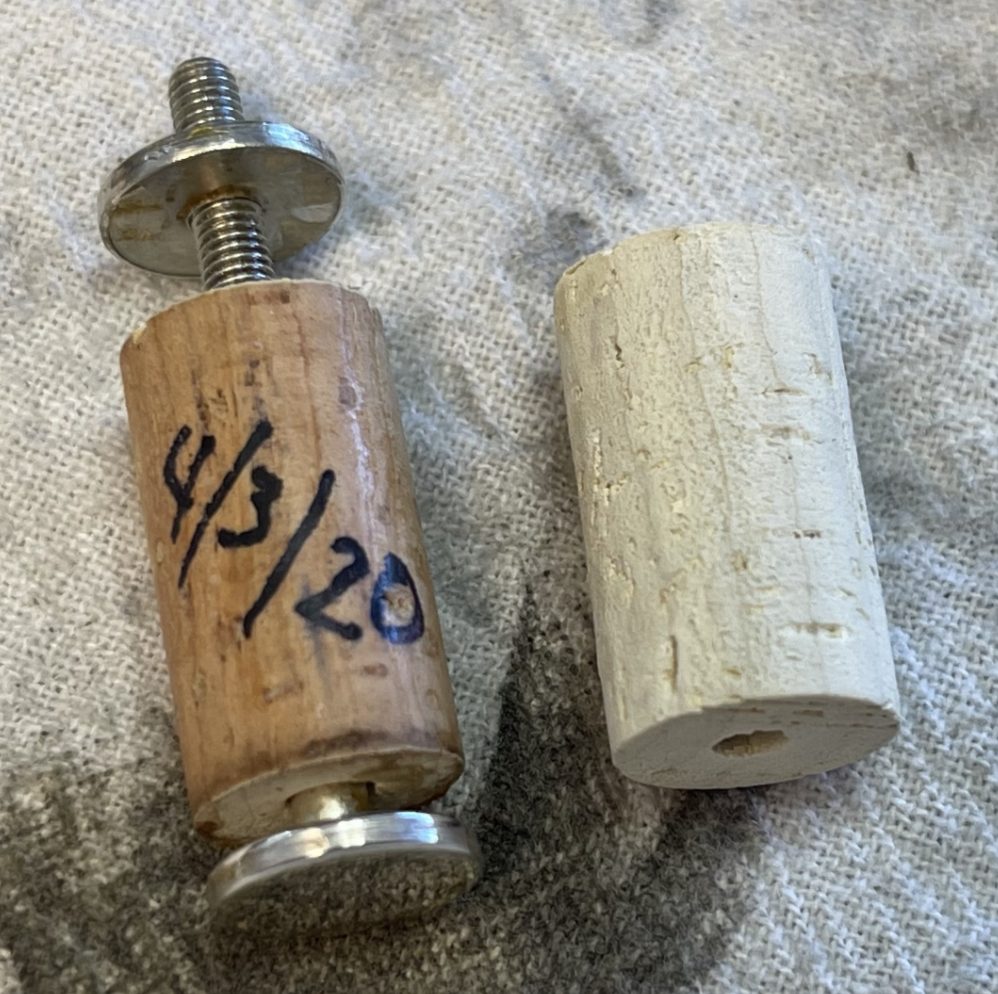
I mark them with a date so that I, or another tech, know when the cork was installed. You can see the difference in color between the old cork and the new cork. While the cork is removed, I check the headjoint over and oil the wood. I let it sit overnight to make sure that the oil is absorbed and in the morning, I wipe off any excess.
The next thing I do is remove the headjoint cork. As you can see in the photos, this cork has a date on it. This is the cork that I installed during Jessica’s last COA.
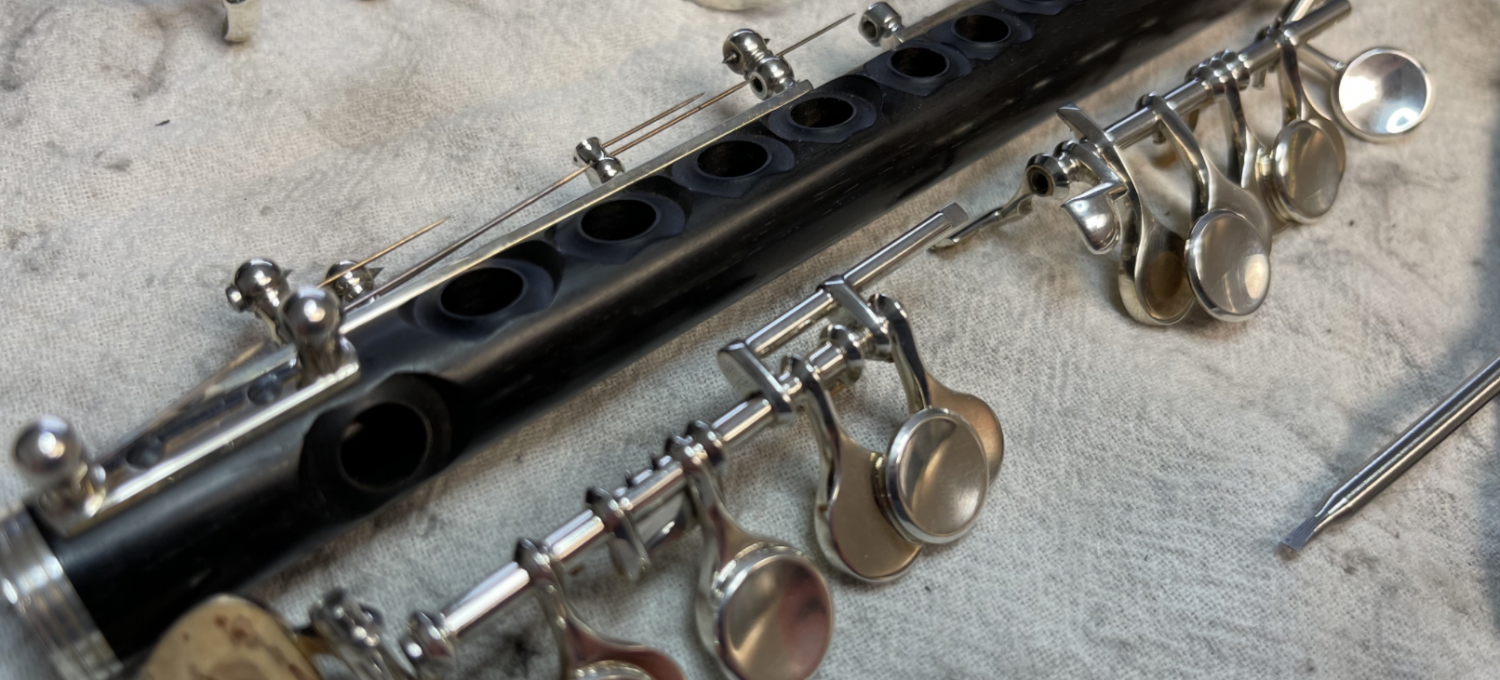
In the next photo you can see the piccolo completely disassembled. Once I have the piccolo taken apart, I have a better view of the pads, tone holes, and body tubing. At this point I begin polishing the keys, ribs, etc. I have to be careful because the pads remain in the keys. I also clean the pads and disassemble the keys.
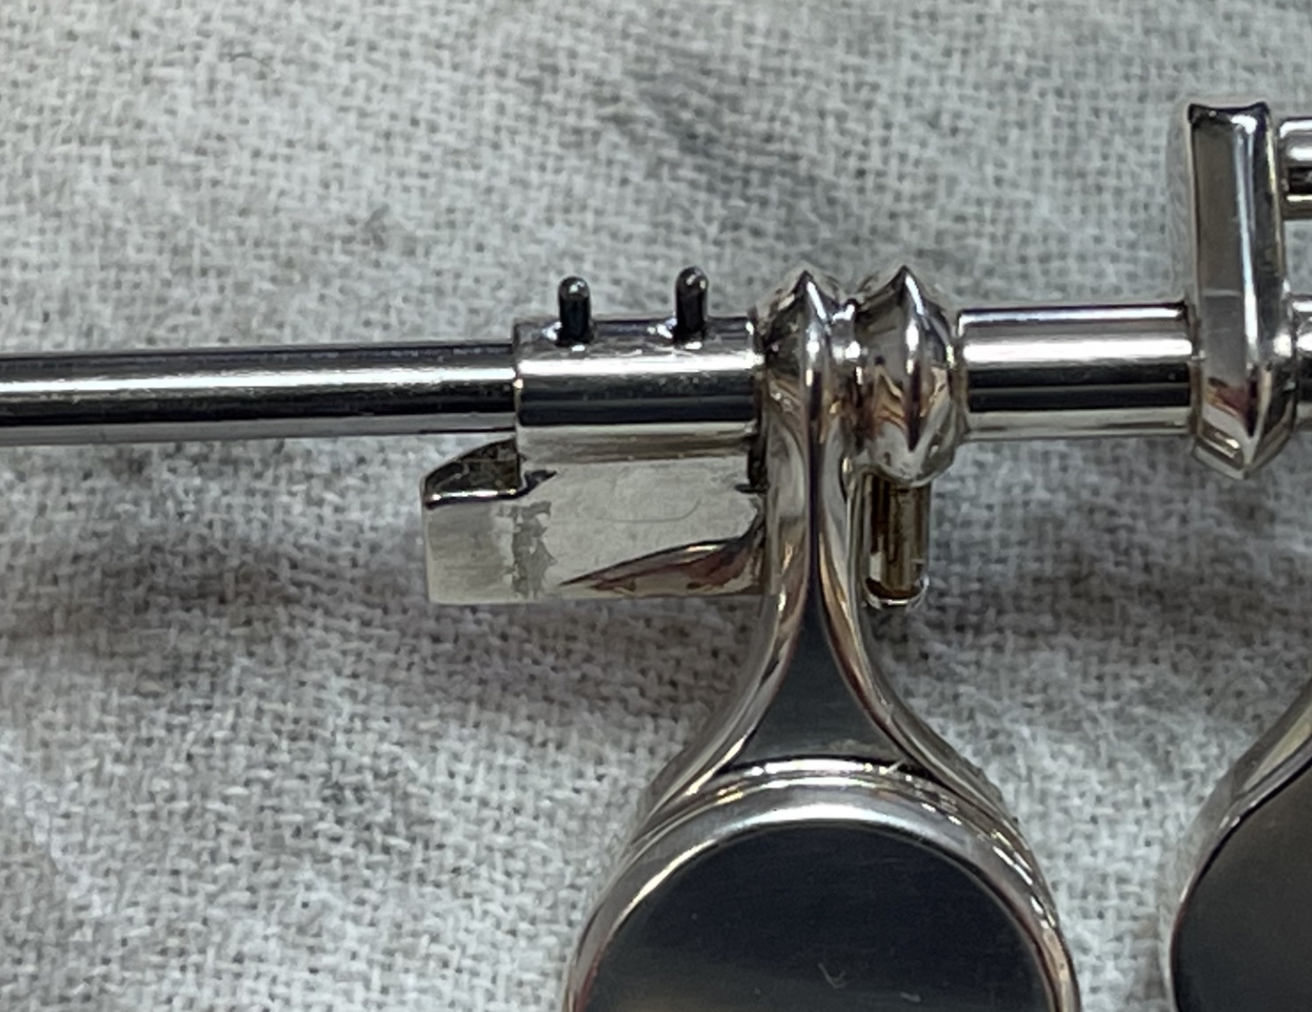
In the next photo, you can see the “steel” or “rod,” the pins sticking up out of the keys, and the silver “hinge tube” that the keys are attached to. I need to remove the pins in order to remove all the keys so that I can clean the steels and remove all of the old oil and dirt as you can see in the next photo.
Once the old oil is removed and the steels are clean, then I can add fresh oil and reassemble the keys. I then start checking for leaks and adjustment issues. I use a leak light and a feeler gauge to check for leaks. If you look at the first photo you can see light coming from inside the piccolo. If a pad is not closing properly, I can see a sliver of light peeking out from between the tone hole and pad like in the next photo. I also use a feeler gauge, or a thin piece of material (variety of thicknesses) to check for the friction or drag when it is placed between the closed key and the tone hole. This is a highly developed skill and takes a while to master.
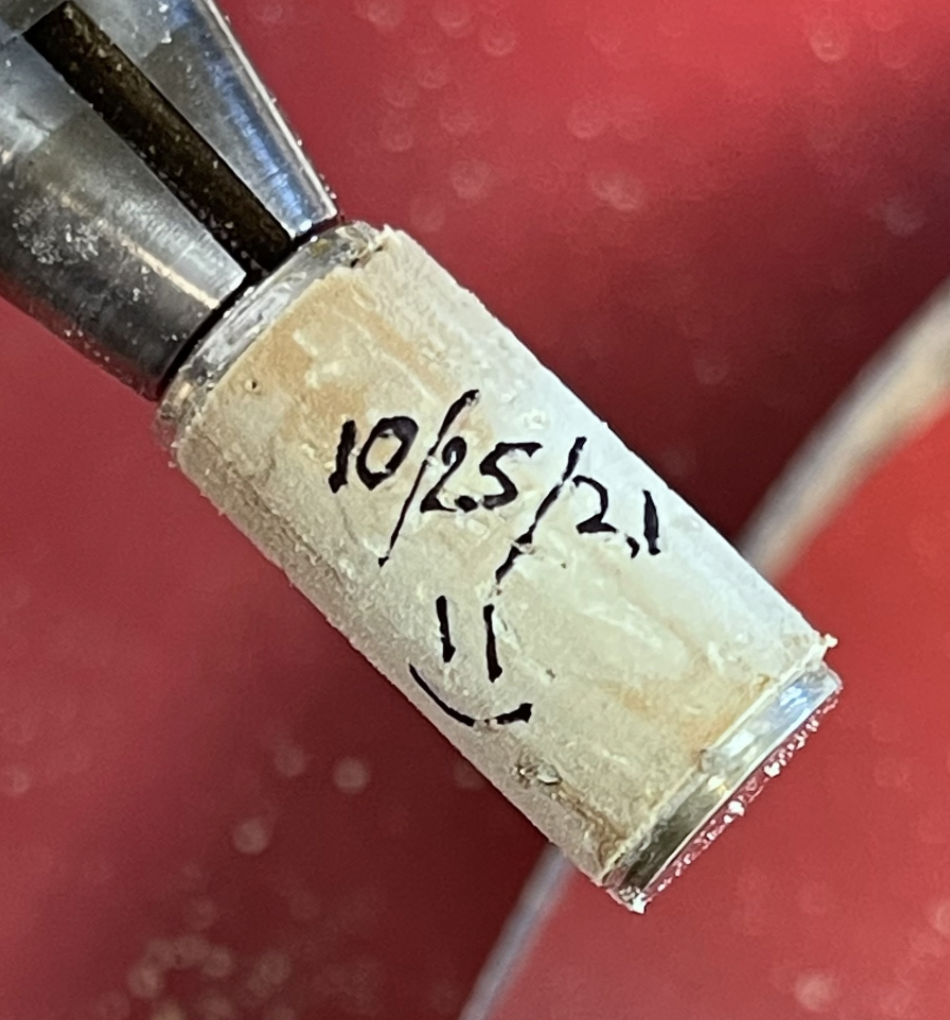
Here you can see the new cork with the date of installation and a little something extra from me ☺
Finally, I make sure the case is clean from lint, dust, and for some of us, pet fur before placing the piccolo back in the case. Here you can see the final product!
Once the piccolo is ready to ship, I contact my customer to get payment and discuss return shipping. I always follow up the call with an email that contains a tracking number, so that both the customer and I can keep track of the shipment. I like to follow up with the customer to make sure that the instrument arrived safely and is playing well for them. I used to send my own instruments out for service and It always made me a bit nervous, so I feel that it Is important to help my customers understand the process from start to finish. I also like to educate my customers as to why the service is important often using the car analogy. Think about what would happen if you didn’t take your car for an oil change for five years? You would never think to ignore this service because a very expensive piece of machinery would cease to function properly. So why do we do this to our instruments and expect them to work perfectly??
[…] The Flute Examiner (Keith Hanlon): Pieces And Parts – A Piccolo COA […]