
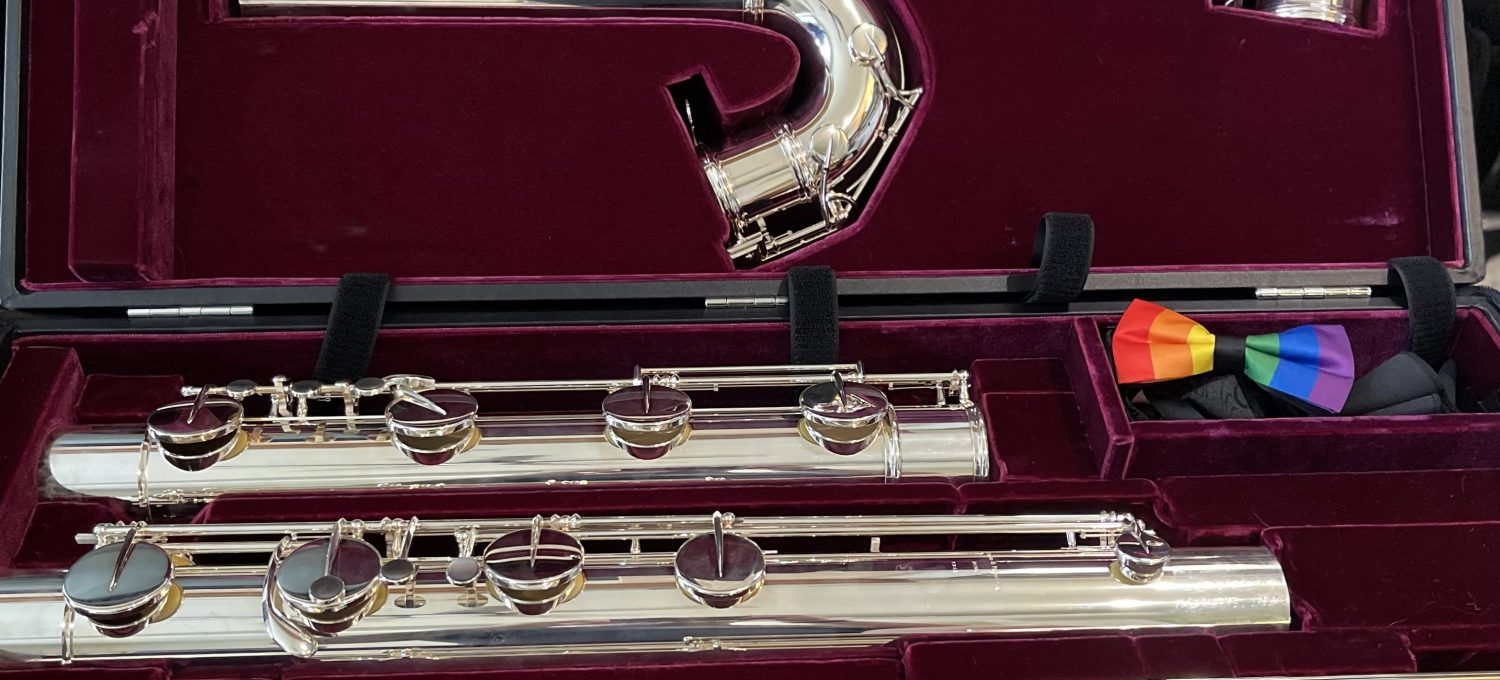
It’s May and we are coming to the end of the spring concert season and the beginning of the summer concert season. For me, last night was the final flute choir performance of the year. This means my weekly reason to trek my new contrabass flute across town to rehearsal has ended for now. This also means shifting into playing C flute and piccolo for the summer. This is quite an embouchure change and it will take quite a few regular practice sessions to get myself back in piccolo shape. This got me thinking about my descent into darkness: purchasing a contrabass flute! I’ve spent so many years building up my piccolo embouchure to be able to control the air on a minute level. Now, I put together around 9 feet of plumbing and blow into an embouchure hole that has almost the same diameter as my entire piccolo. I really got to thinking about my approach to working on a flexible embouchure. I want to be prepared for those weeks when I have multiple gigs ranging from piccolo to contrabass—I will be ready!
I started by thinking about how the piccolo and the contrabass embouchures are the same. For both instruments, the air has to be directed toward the blow edge and I need to be able to control the height and width the air stream I am aiming at the blow edge. Both are affected by air speed and volume of air. The same basic principles apply to both instruments. However, how I alter the volume or speed of the air, as well as the direction, can have differing results on each instrument.
The contrasts added up rather quickly. The physical interaction with each instrument is probably what I found the most challenging. The position of the headjoint (rotated in or out) can change the response and pitch of the instrument greatly, and the placement of the headjoint for tuning is very different. The mechanism is drastically different with the contrabass keywork feeling more like a tenor sax (not to mention holding it vertically). I soon realized, at this point in my daydreaming about flute embouchures, that I should be far more concerned about having a consistent playing position. It is harder to come to these conclusions when you are your own student! Of course this ah-ha moment would have been par for the course when I was teaching. I think we often forget that when we learn something new, we can’t just force it to happen. No matter how many times I pick up the instrument and hack away at it blindly, I won’t wake up one day and discover that all the problems are gone. Playtime is over and the new, big, shiny, low, expensive toy is great—but now I need to figure out the instrument and how I interact with it if I want to get better.
The first thing I did was make a list of variables. These mainly included the peg extension, angle of the flute in relationship to my body, and headjoint placement (rotation). With three variables to focus on, according to math, that means there are seven various combinations. If only that were true. This “flute math” doesn’t take into account ALL of the other stuff I also need to focus on. I needed to identify the variables that were most controllable and eliminate those, just for consistency.
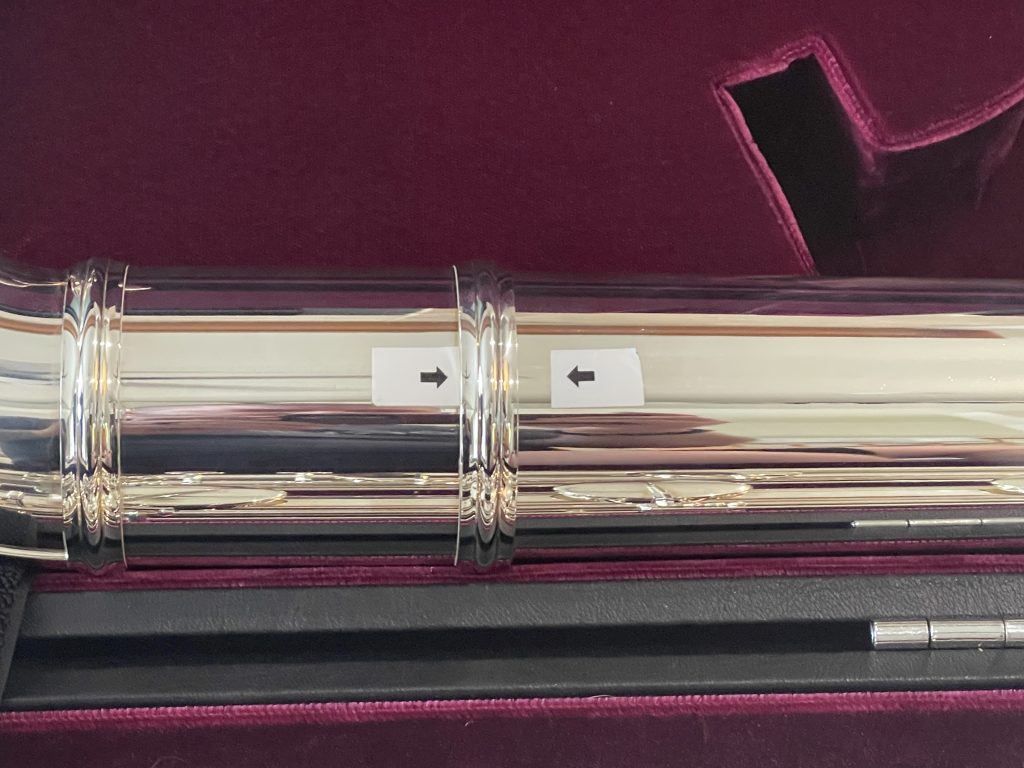
I started by extending the peg and then marked the length with a piece of tape. The tape lets me extend the peg to a consistent length. Since it is my contrabass and no one else plays it, this just made for an added convenience. For the headjoint rotation, I used a label maker and made two arrow stickers, one for the headjoint and one for the receiver. The arrows allow me to easily place them point to point, or give me a reference point if I change the rotation. I have done this as well as the nail polish dots on student flutes. Since the contrabass is so large, arrow stickers seemed more efficient.

The tape marks the peg for consistent extension
The arrows help with setting headjoint rotation and tuning by giving me a reference point.
This left the last variable, the flute angle in relationship to my body. For this I focused on the distance from the peg to my lead foot. Using a tiled floor or just my own foot, I tried playing at varying placements until I found one that had the best results. I then started practicing with the music stand set up, making sure to place the contrabass peg and my Bluetooth pedal in consistent formation with one of the music stand feet. This regular and controlled method of getting set up has already helped me start developing muscle memory regarding the playing position. This muscle memory is life changing and helped me work out so many embouchure issues, because I was able to stabilize my playing position. I still have long way to go to get my contrabass playing up to the level of my piccolo playing, but this self-discovery process really helped me refocus the knowledge that I have as a teacher back on me, the student.